This guide explains how to set up a LAMP stack on AWS EC2.
We actively run websites on AWS EC2, and based on our hands-on experience, this guide walks you through how to set up a LAMP stack on an EC2 instance.
For a clear overview of the LAMP stack, refer to the following official AWS article:
https://aws.amazon.com/what-is/lamp-stack
Prerequisites
Before proceeding with this guide, make sure you have created an AWS account by completing the steps below.
- You have already created an AWS account by following the official AWS guide below:
https://aws.amazon.com/resources/create-account/
Access the AWS Management Console
First, access the AWS Management Console.
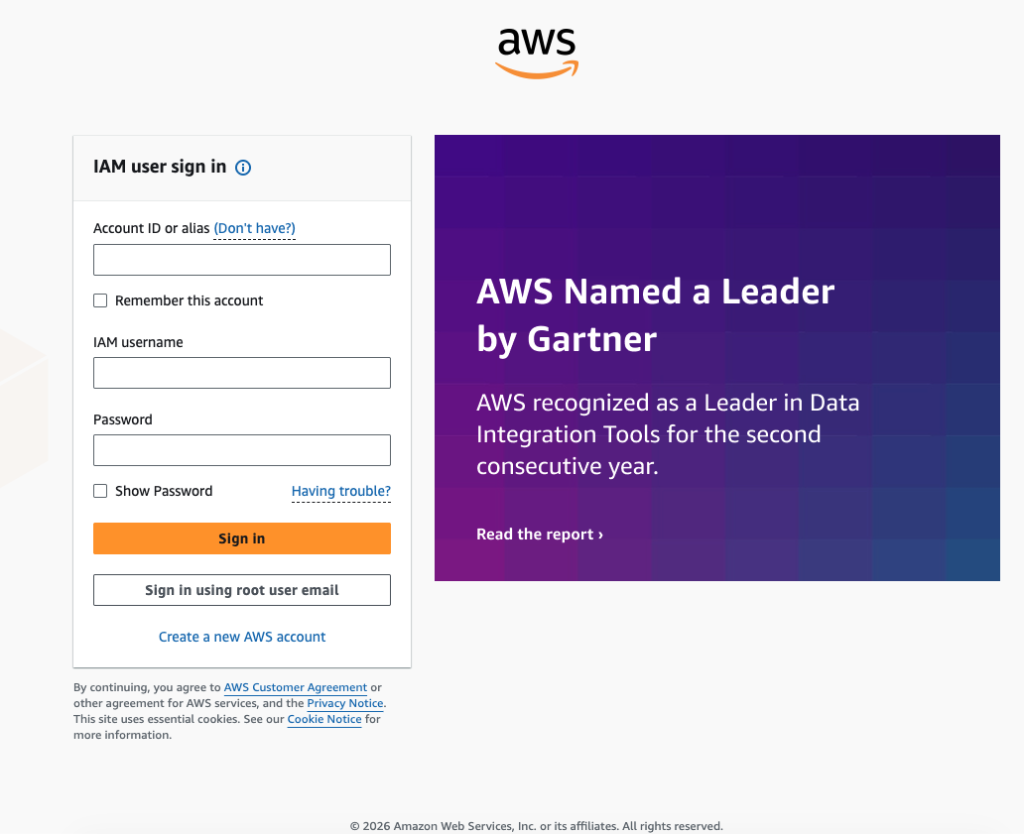
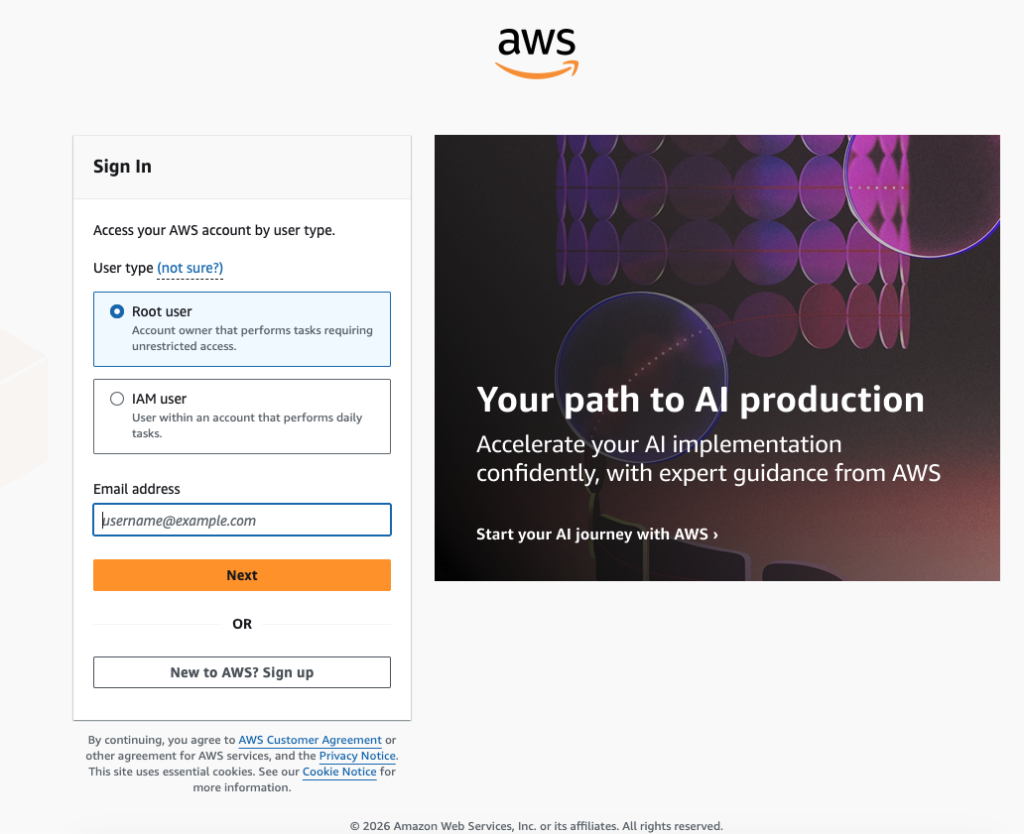
Go to the URL below and click “Sign In to the Console.”
The AWS Management Console is a web-based interface that allows you to manage AWS services through a graphical user interface (GUI).
Accessing the Management Console simply means logging in to your AWS account.
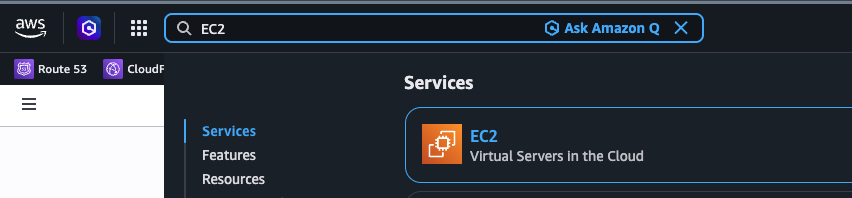
Open the EC2 Console
Go to the EC2 Dashboard in the AWS Management Console.
Choose the region where you will launch your EC2 instance
Set the region displayed in the top-right corner of the AWS Management Console to the region where you want to launch your EC2 instance.
In this example, we will launch the EC2 instance in United States (N. Virginia).

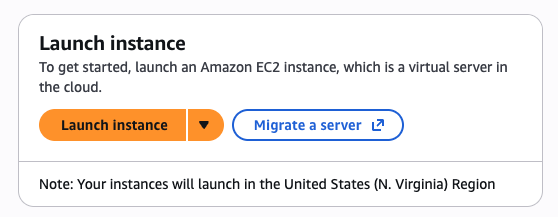
Launch an instance
Click the yellow “Launch instance” button to navigate to the screen where you can enter the required information to create your EC2 instance.
On the following screen, enter the required information to launch your EC2 instance.
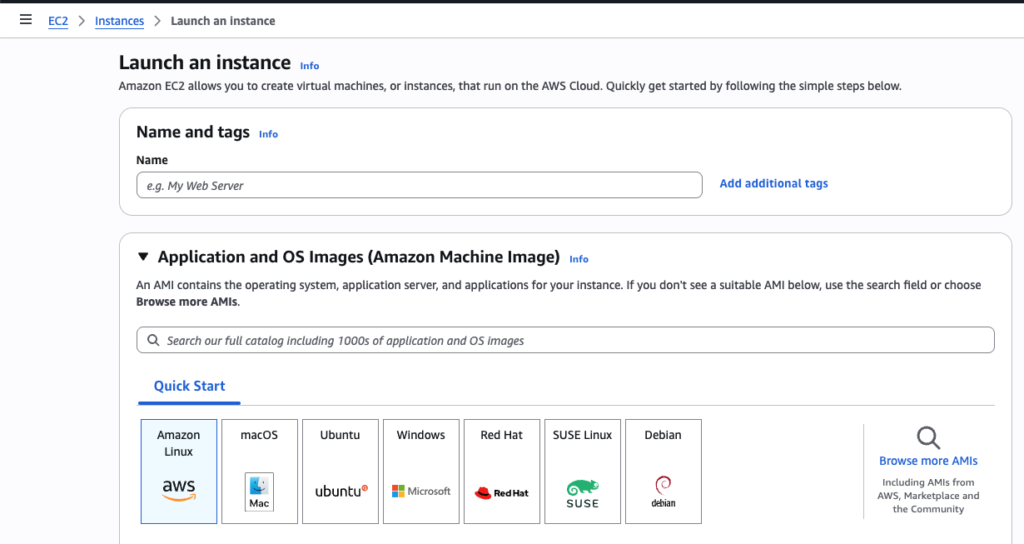
In this example, we will launch the EC2 instance using Amazon Linux 2023.
Amazon Linux 2023 is a Fedora-like Linux distribution that is optimized for performance, security, and integration within AWS environments.
Name and tags
Set a name for your EC2 instance. This name is used to help you identify the instance.
Instance type
Instance types define the compute resources of a server, such as CPU and memory, and directly impact its performance. When you select Amazon Linux 2023, the default instance type is set to t3.micro.
For running WordPress, t3.micro provides the minimum level of performance. While it can run WordPress, it is recommended to choose an instance type of t3.small or higher if you plan to use resource-intensive plugins or frequently update your site with new content.
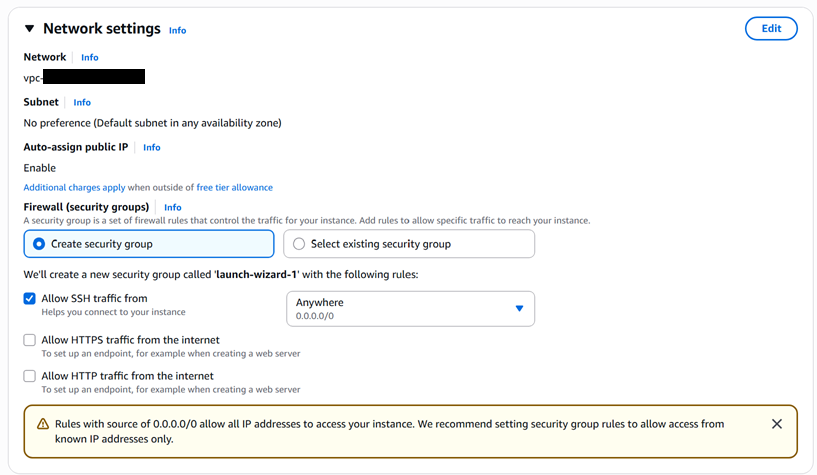
Network Setting
On Network Setting, select or create Firewall ( Security Group ).
As shown in the image, if SSH access is allowed from 0.0.0.0/0, the server becomes a potential target for automated bots constantly scanning the Internet. For this reason, it is recommended to restrict SSH access to your own IP address only whenever possible.
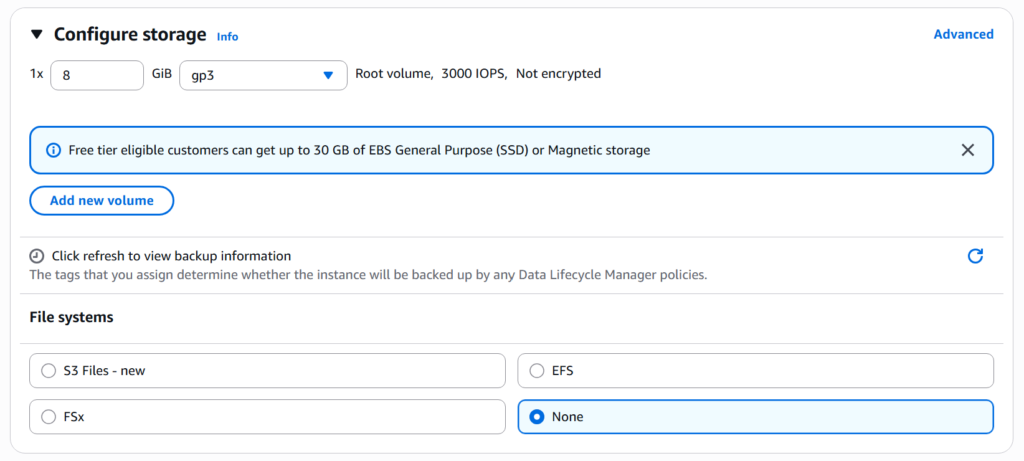
Setup EBS Volume
In the Configure Storage section, you can specify the amount of SSD storage to attach to the EC2 instance that will be launched.
You can select File Systems from S3 Files, EFS, FSx, None.
Connect EC2 Instance with SSH Protocol
ED25519 key fingerprint is: SHA256: *******************
This key is not known by any other names.
Are you sure you want to continue connecting (yes/no/[fingerprint])?
, #_
~\_ ####_ Amazon Linux 2023
~~ \_#####\
~~ \###|
~~ \#/ ___ https://aws.amazon.com/linux/amazon-linux-2023
~~ V~' '->
~~~ /
~~._. _/
_/ _/
_/m/'Build a LAMP stack on Amazon Linux 2023
Based on the following official AWS documentation, we will set up a LAMP stack on the Amazon Linux 2023 instance we launched.
First, run the following command:
sudo dnf upgrade -yThis command updates all installed packages to the latest versions, ensuring that the system has the latest security patches and bug fixes.
Packages to Install
Install the following packages:
- NGINX or Apache
- MariaDB or MySQL
- PHP
By installing these components, you will set up a LAMP stack on your Linux environment.
Overview and Installation of wget
The wget command is a command-line utility used to download files from the Internet. It supports protocols such as HTTP, HTTPS, and FTP, making it a common tool for downloading software packages, scripts, and website content on Linux servers.
On Amazon Linux 2023 (AL2023), wget can be installed using dnf:
sudo dnf install -y wgetVerify the installation:
wget --versionIf the package metadata is outdated, update the repository cache first:
sudo dnf update -y
sudo dnf install -y wget
Install and Configure NGINX or Apache
NGINX and Apache are popular web server software packages used to host websites and web applications. A web server receives requests from web browsers and delivers content such as HTML pages, images, CSS files, and JavaScript files to visitors.
By installing and configuring NGINX or Apache on your server, you can make web content available over the Internet. Once the web server is running and the appropriate network ports are open, users can access your server using a web browser by entering the server’s IP address or domain name.
Web servers are a fundamental component of most websites and web applications, acting as the bridge between visitors and the content hosted on the server.
NGINX Overview and Installation Guide
NGINX is a high-performance web server, reverse proxy, load balancer, and HTTP cache. It is widely used to host websites and web applications due to its efficiency, scalability, and ability to handle a large number of concurrent connections with low resource consumption.
NGINX can serve static content such as HTML, CSS, JavaScript, and images directly, while also forwarding dynamic requests to application servers such as PHP-FPM, Node.js, or Python-based frameworks. It is commonly used to improve website performance, enhance security, and distribute traffic across multiple backend servers.
Key features of NGINX include:
- High-performance web serving
- Reverse proxy functionality
- Load balancing
- HTTP caching
- SSL/TLS termination
- URL rewriting and redirection
- Low memory and CPU usage
Because of its speed and reliability, NGINX is one of the most widely deployed web servers on the Internet.
First, run the following command to install NGINX on Amazon Linux 2023:
$ sudo dnf install nginx -yAfter Installing, start, enable and verify nginx.
# Start NGINX
sudo systemctl start nginx

# Enable NGINX to start automatically at boot
sudo systemctl enable nginx

# Verify the service status
sudo systemctl status nginx
To verify that NGINX is running:
curl http://localhostApache Overview and Installation Guide
Apache HTTP Server (commonly known as Apache) is one of the most widely used web server software applications in the world. It enables a server to host websites and web applications by processing requests from web browsers and delivering web content such as HTML pages, images, CSS files, and JavaScript files.
Apache is known for its flexibility, extensive module ecosystem, and broad compatibility with various operating systems and web technologies. It is commonly used to host dynamic websites powered by PHP, WordPress, and other web application frameworks.
By installing Apache on a server, you can make web content accessible to users over the Internet. Once the service is running and network access is properly configured, visitors can view hosted websites by entering the server’s IP address or domain name into a web browser.
Install Apache using the following command:
sudo dnf install -y httpdStart the Apache service:
sudo systemctl start httpdEnable Apache to start automatically when the server boots:
sudo systemctl enable httpd
Alternatively, you can start and enable the service with a single command:
sudo systemctl enable --now httpdVerify that Apache is running:
sudo systemctl status httpdOnce Apache is installed and running, you can access the server’s public IP address from a web browser to view the default Apache welcome page.
Install and Configure MariaDB or MySQL
In this step, install either MariaDB or MySQL to provide database services for your web applications.
For most web servers, MariaDB is an excellent choice because it is fully open-source, widely supported, and highly compatible with MySQL. Many popular applications, including WordPress and other content management systems, work seamlessly with MariaDB without requiring any modifications.
MariaDB is also the default database solution in many Linux distributions and cloud environments, making it easy to install, maintain, and integrate with existing web server stacks. For small and medium-sized websites, development environments, and general-purpose web applications, MariaDB provides reliable performance and all the features needed to manage application data effectively.
Install MariaDB Server using the following command:
118 means MariaDB Version.
$ sudo dnf install -y mariadb118-serverInstall and Configure PHP and Its Extensions
$ sudo dnf install php php-fpm php-json php-zip php-gd php-mysqli php-mysqlnd php-mbstring php-xml